If you haven’t heard of Red Tail Studios, you are missing out on an amazing artist. Monique Wales creates beautiful woodcuts and etchings, incorporating a variety of techniques that make her prints truly outstanding. Her work is always influenced by nature and the world around her.
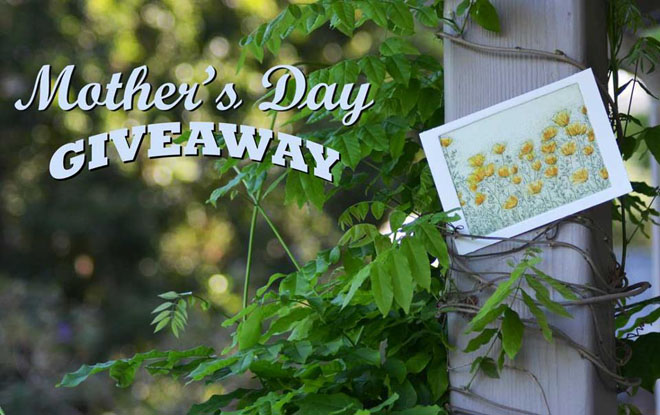
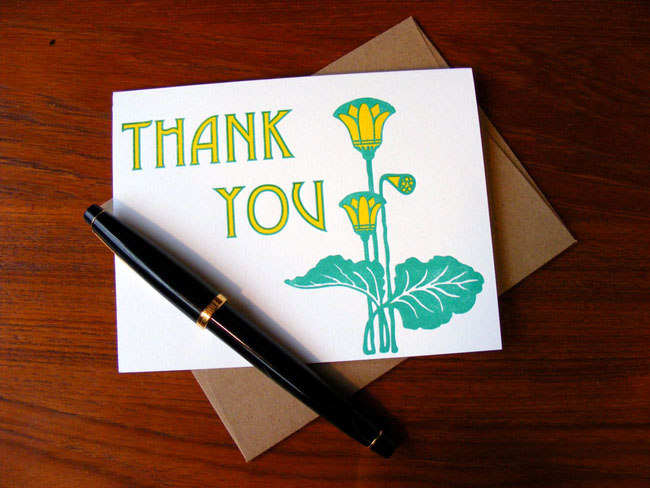
This week I was totally surprised to learn that I had won Red Tail Studios’ Mother’s Day Giveaway! I was going to receive one of Monique’s fabulous monoprint etchings. I am one lucky girl! In fact, I was going to receive a copy her “Painted Poppies” (which was originally designed for a Small Print Exchange Project [i.e. a limited size of 5″x7″]. If you are interested in reading more about this project, and see pictures of her process, check out her Blog Post on the making of this print.
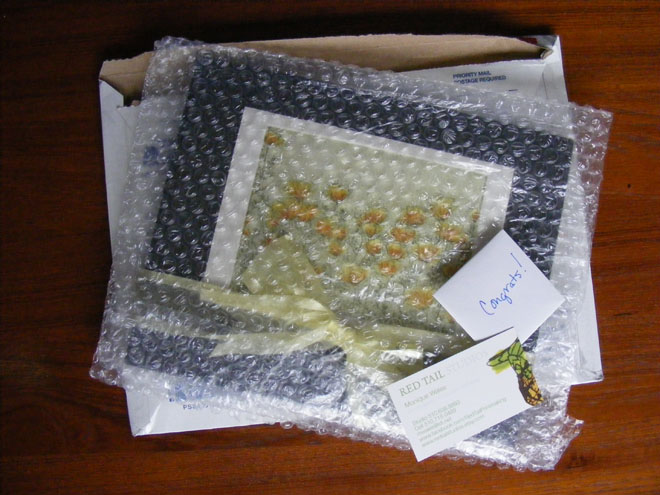
Today my print arrived! I cannot express how excited I was to open it. Not only is the print beautiful, but it was even packaged beautifully.
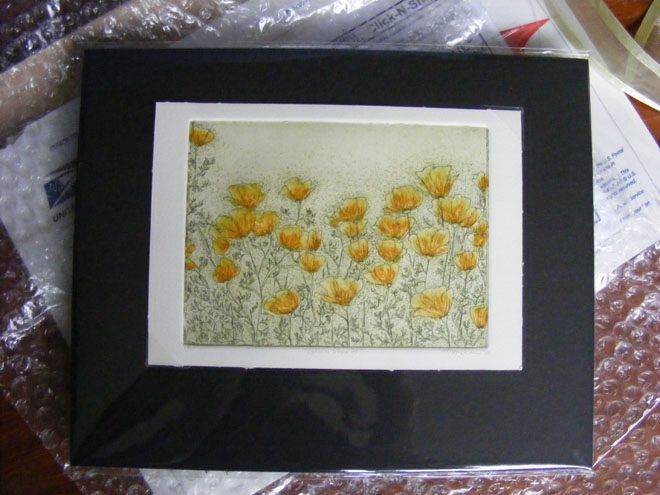
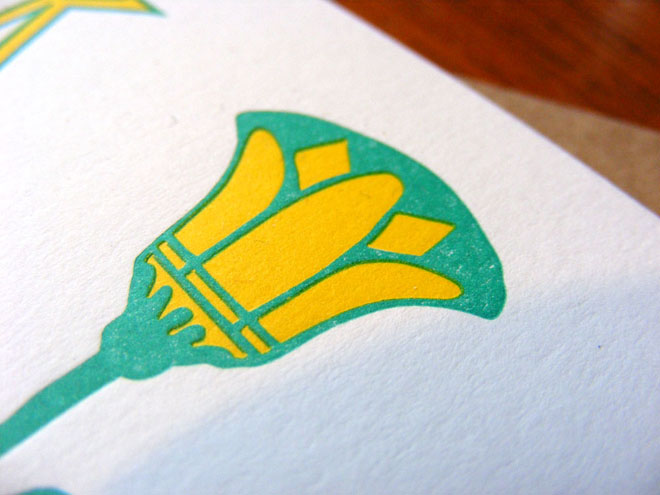
I just LOVE the depth of color Monique was able to achieve through the monoprint. The poppies seem to glow, and radiate from their core out to the tips of their petals.
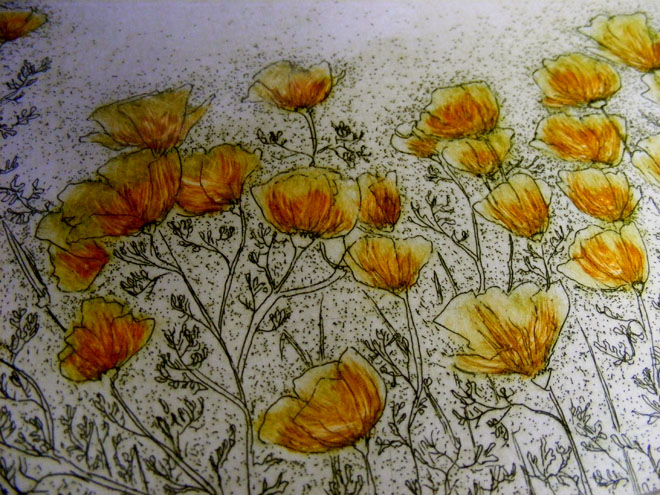
As a printmaker myself, I can really appreciate how much work goes into each impression. Since monoprints are a one-time-use-only type deal, each print is different and unique.
While I got extremely lucky to get my very own, you too can support this great artist by buying her work.
Red Tail Studios Etsy Store: http://www.etsy.com/shop/RedTailStudios
She also has a facebook page: https://www.facebook.com/RedTailPrintmaking
And a blog: http://redtailmews.wordpress.com/