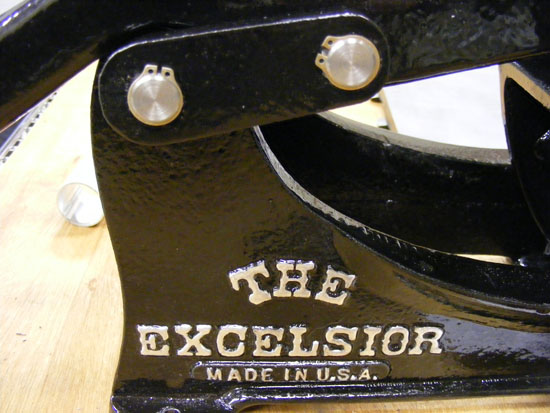
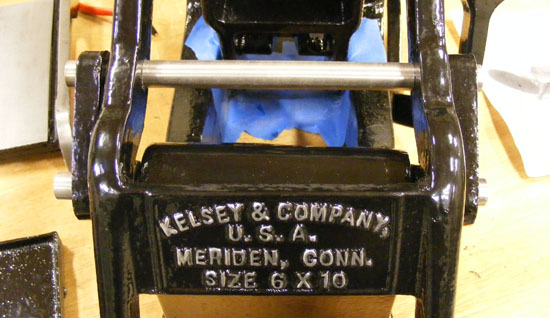
When I first disassembled the Kelsey press I knew that I would have to replace the original dowels that held the parts together. The majority had been mushroomed on one end and deformed with a chisel and hammered into the other. I can only assume that this was done by the Kelsey company to stop people from taking the press apart. These presses really weren’t meant to last as long as they have, so I suppose replacing the dowels was not a priority for the Kelsey Co. Either that, or a previous owner replaced the rods very badly.
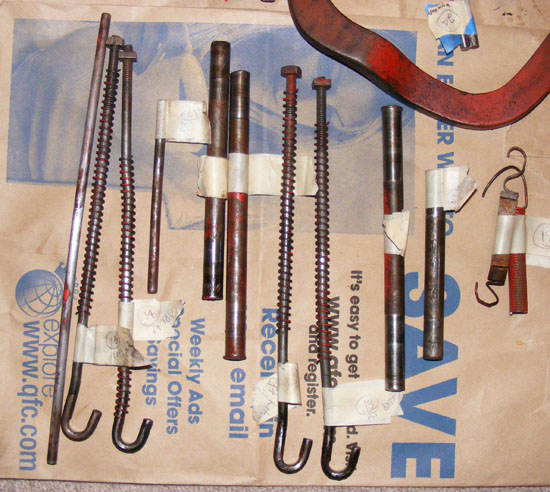
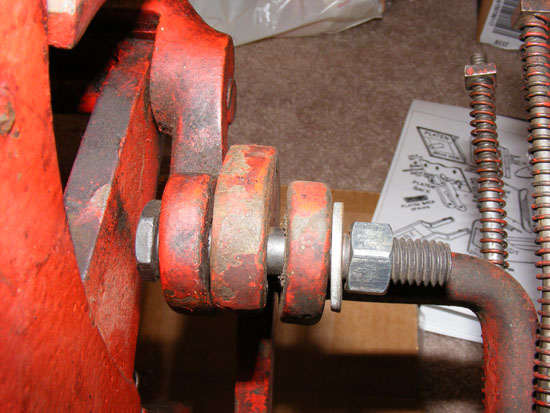
The original dowels were all covered in old stray paint, grease, and decades of gunk. There was even a place where someone had tried to replace one of the dowels with a nut and bolt that didn’t fit:
Needless to say, we decided to replace the dowels. We bought a 1/2″ diameter stainless steel, mill-finished rod from McMaster-Carr (one of Doug’s absolute favorite mail order parts places) and brass retaining rings to fit.
 We went with stainless steel because it is hard, doesn’t rust, and will last forever. And, instead of re-mushrooming the dowels, we decided to use retaining rings to hold the rods in place. Retaining rings are amazing little fasteners that are designed to fit into a groove on a shaft. Once installed, the retaining ring holds the shaft in place. We got brass ones for no other reason than they would look beautiful when contrasted with the stainless steel rod and the black paint. I am sure you could use any number of different types and materials of retaining rings.
Because we were using the machine shop at Doug’s work, I was not allowed to work the lathe. That was all on Doug. So I wielded the CAMERA!
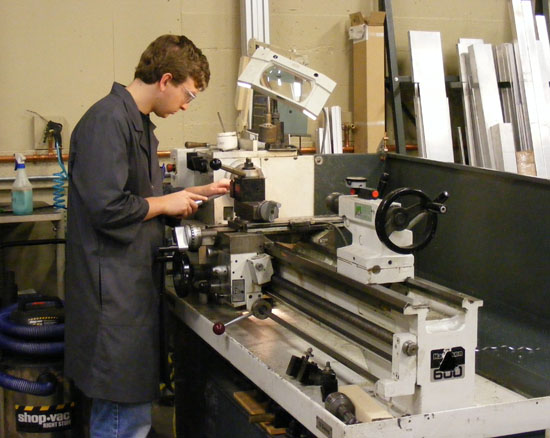
For each replacement dowel, we rough cut a piece of the rod approximately 1/2-3/4″ too long on each side, fitting the rod within the press pieces just to check.
Then Doug got on the lathe and (1) finished one end of the dowel, (2) cut a groove into the side of the dowel about 1/8″ in from the end (for the retaining ring), and (3) filed the edge down for a smooth bevel.
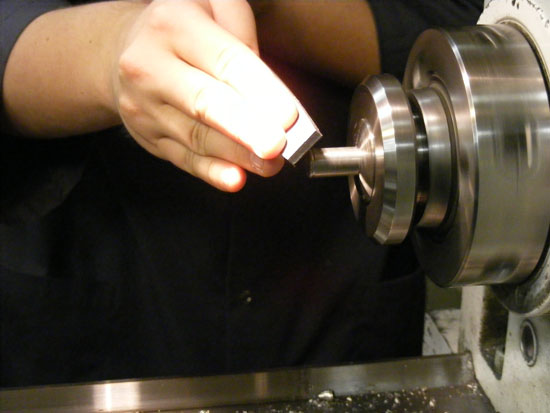
(You can see in the picture above that Doug has already cut the groove for the retaining ring and is in the process of filing the edge down.)
We then fit each dowel individually. We put a retaining ring on the finished side and slipped the dowel into its space. We then marked where the second retaining ring needed to be placed and Doug did the same thing for the other side.
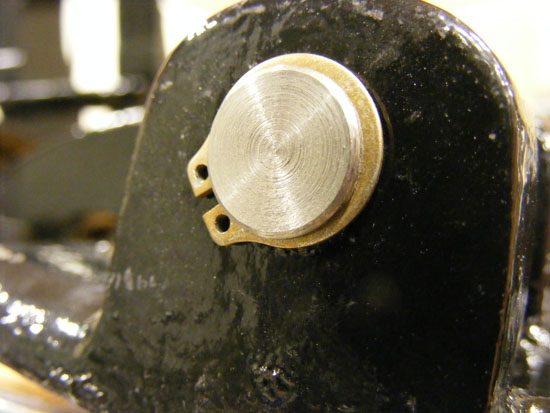
Not only do the brass retaining rings look quite elegant, they also allow us to pull the dowels out easily, should we ever need to fix and/or replace them.
