Shims and grease are two things that are quite important when reassembling a press, and I did not want them to get lost in the glitz and glam of retaining rings and finished pictures. While they aren’t as pretty, they are necessary!
Shims:
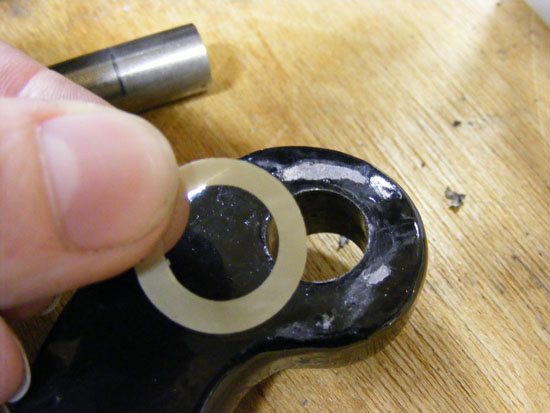
When we first started fitting the dowels in the press, I noticed that some of the cast parts were rubbing quite hard against each other. This was removing paint, and could easily wear the castings over time. In the places that this occurred, I cut some circles out of some plastic shim stock (I think I used .003mm thickness). I didn’t want to add a thick layer between the castings. I just wanted to put a buffer between the castings to reduce metal-on-metal rubbing.
One of the places that needed a shim was at the top of the goose neck (or bow). This part attaches to the carriage and is under a bit of tension when fitted together. I REALLY don’t want to have to replace a broken carriage or a broken goose neck, so avoiding wearing either of these castings is a high priority!

I also made shims for one of the handle connections, and maybe one or two other places where my press needed it. I assume that each press is different through, so where you put shims may be totally different from where I needed them.
Grease:
This press probably had not been greased for a good 30 years or more. Now that it was all clean and had new dowels, it needed new grease. One of the advantages of having access to a machine shop is also having access to some things that one might not otherwise be able to get (or at least get cheaply).
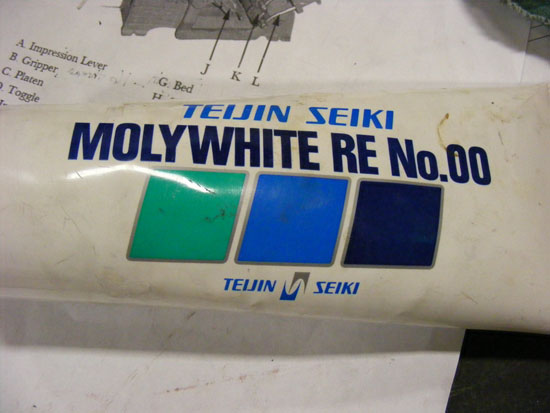
The grease we used for the press was Teijin Seiki’s Molywhite RE No. 00. This is a lubricating grease is used specifically for manufacturing robots and robotic gears!

Of course, this high end lubricating grease worked amazingly well. I am quite sure that others will know of more appropriate greases to use on a press, but this is what we had access to. It produced smooth movement throughout the press.
Finishing touches and final assembly photos to follow!

